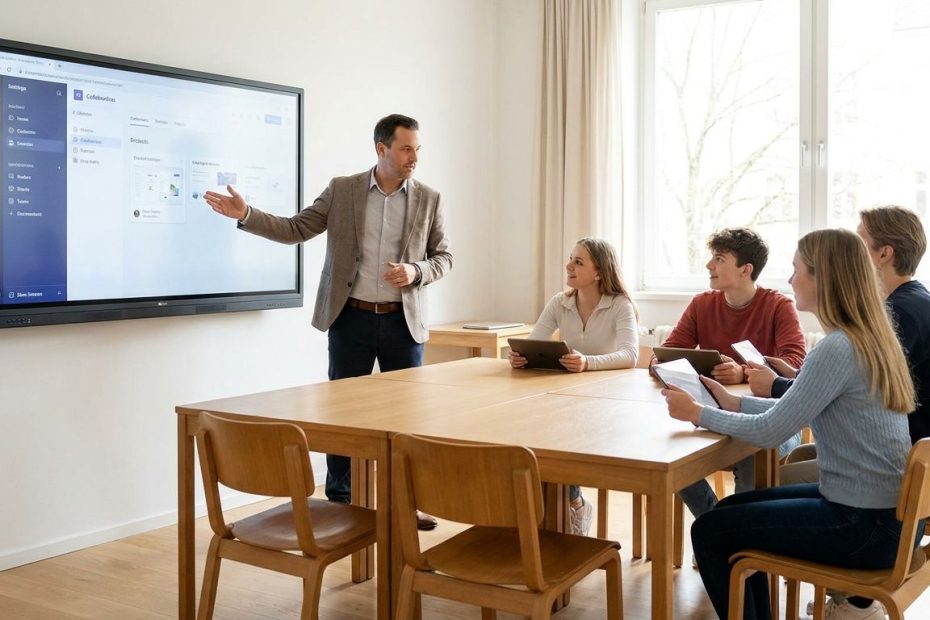
Introducing new tech in your classroom works best when you teach the routine before you teach the tool: define the learning purpose, rehearse the steps, model the process, then give students a safe practice task. The goal is less confusion, fewer device distractions, and better learning time.
New classroom technology can help you personalize practice, give quicker feedback, and make student work easier to manage, but it can also add planning time if the rollout is rushed. Teacher survey data shows that many educators say technology makes their work easier, yet many also say it increases workload. These 7 tips help you introduce classroom technology with less chaos and more instructional control.
1. Start With The Why And Make It About Learning
Before students touch the new tool, decide what learning problem it solves. A good classroom technology integration plan starts with a sentence you can say out loud: “We’re using this because it helps us practice vocabulary faster,” or “We’re using this because it lets you revise your writing with clearer feedback.” If the purpose sounds vague, the tool probably needs more planning before it reaches students. Technology earns its place when it improves a task you already value.
This matters because students read your clarity quickly. If you introduce an app as a novelty, they treat it like a novelty. If you connect it to a skill, product, discussion, or assessment goal, they understand the academic reason for using it. The International Society for Technology in Education emphasizes designing technology-enriched learning activities around learning goals, and that standard fits everyday teaching: the tool should serve the lesson, not steer it.
2. Give Yourself A Tech Dress Rehearsal Before Students Arrive
Run the lesson exactly as a student would experience it. Open the link from a student device, test the login steps, check whether the tool works on school devices, and confirm that students can submit, save, or share their work. If the tool has a teacher dashboard, look at what you’ll see during class. You don’t need perfection, but you do need to know where the friction points are.
Build a short backup plan before the first lesson. Print the directions, prepare a partner option, save screenshots of the main steps, or have an offline version of the task ready. A failed wireless connection should not erase the learning goal for the day. When students see that you have a plan, they stay calmer and you protect instructional time.
3. Create Clear Routines And Norms For The New Technology
Device routines need the same direct teaching as lab safety, group work, or lining up. Decide where devices stay before use, when students open them, what tabs should be visible, how students ask for help, and what they do when they finish early. Say the routine, model the routine, then practice the routine without rushing into the academic task. This small investment prevents many of the problems teachers fear most.
Student distraction is a real concern. Common Sense Media research found that many teachers see internet and device distraction as a major classroom problem. Your norms should name the behavior you want: screens flat when listening, one approved tab during work time, help cards before calling out, and a “pause position” when you need attention. Keep the language short enough for students to remember and consistent enough for you to enforce.
4. Use The I Do, We Do, You Do Model For Digital Skills
Don’t assume students know how to use a tool just because they use devices outside school. Social use and academic use require different habits. Start with “I do” by projecting the screen and thinking aloud through the first task. Name every key action: where to click, what to ignore, how to save, how to recover from a mistake, and what finished work should look like.
Move into “we do” with a guided practice round where students complete the same step together. Then shift to “you do” with pairs before independent work. Research on scaffolding digital tools found that explicit modeling and guided practice improved on-task behavior with new technology. The practical takeaway is simple: teach the digital skill in small chunks before asking students to use it for deeper academic work.
5. Assign Student Tech Helpers As Your Secret Weapon
Student tech helpers reduce bottlenecks without turning your classroom into a help desk. Choose a few students who can assist with routine issues: finding the correct link, checking sound settings, reminding peers where to submit work, or helping a partner locate a missing button. Rotate the role so it doesn’t become a status label or a burden. Make the job about service, patience, and clear directions.
Set boundaries for the role before students begin. Helpers should not complete work for classmates, manage private information, or make discipline decisions. Their job is to support routine access so you can keep teaching. This works especially well when younger students or less confident students need repeated practice with the same digital steps.
6. Plan A Low-Stakes Sandbox Activity First
Your first activity should let students learn the tool without worrying about a major grade. A sandbox task gives them room to click, test, submit, revise, and recover from small mistakes. In a writing class, students can post a two-sentence response before drafting a full essay. In a math class, they can complete a short practice set before using the tool for a graded assignment.
Low-stakes practice also helps you balance screen time with hands-on learning. You can use the tool for one focused part of the lesson, then move students into discussion, notebooks, manipulatives, lab work, or peer feedback. That balance keeps the technology from swallowing the whole period. It also helps you see whether the tool supports learning or simply adds steps.
7. Reflect, Gather Feedback, And Adjust With Students
After the first use, ask students what helped and what slowed them down. Keep the questions practical: “Which step was confusing?”, “What should go on our class checklist?”, and “What should we do when the tool freezes?” You can gather answers with a quick exit ticket, a class chart, or a short discussion. Students are more likely to follow routines they helped refine.
Use their feedback to adjust the rollout, not to abandon the tool after one messy day. Project Tomorrow research found that many teachers believe technology helps personalize learning, but personalization only works when the routine is smooth enough for students to focus on the task. Review student work, check participation, and compare the time spent against the learning gained. If the tool improves practice, feedback, access, or creation, keep refining it; if it adds noise, pause and redesign the use case.
How Can You Successfully Introduce New Technology in Your Classroom?
- Start with the learning goal.
- Rehearse before class.
- Model, practice, then release.
- Set device routines.
- Pilot with a low-stakes task.
Make New Tech Feel Like Part Of Good Teaching
Introducing new tech in your classroom gets easier when you treat it like instruction, not setup. Start with a clear learning purpose, rehearse the student experience, teach routines directly, and use gradual release so students build confidence before independent work. Student helpers, sandbox practice, and reflection turn the first rollout into a manageable learning cycle. The strongest classroom technology integration choices are usually the calmest ones: fewer tools, clearer directions, better feedback, and more time spent on the skill you wanted students to learn.
References
- EdWeek Research Center, The State Of EdTech
- Gallup, Teachers And Technology: A National Survey
- Common Sense Media, The Digital Classroom Report
- Consortium For School Networking, State Of EdTech Leadership Survey
- Project Tomorrow, Speak Up National Findings
- Journal Of Computer Assisted Learning, Scaffolding Digital Tools In The K-8 Classroom
- International Society For Technology In Education, Standards For Educators
- Edutopia, How To Introduce New Technology In The Classroom
- Common Sense Education, 6 Tips For Introducing A New Tech Tool To Your Students
- EdSurge, How To Roll Out New Edtech Without Making Enemies
- Cult Of Pedagogy, Technology Integration
- The Learning Scientists, Spaced Practice And Scaffolding With Digital Tools

Mark R Graham is a private equity executive and co-founder of Drake, Goodwin & Graham, with over 20 years of experience in alternative assets and M&A. A former Vice President at Morgan Stanley and practicing attorney, he now focuses on strategic investments and educational philanthropy.